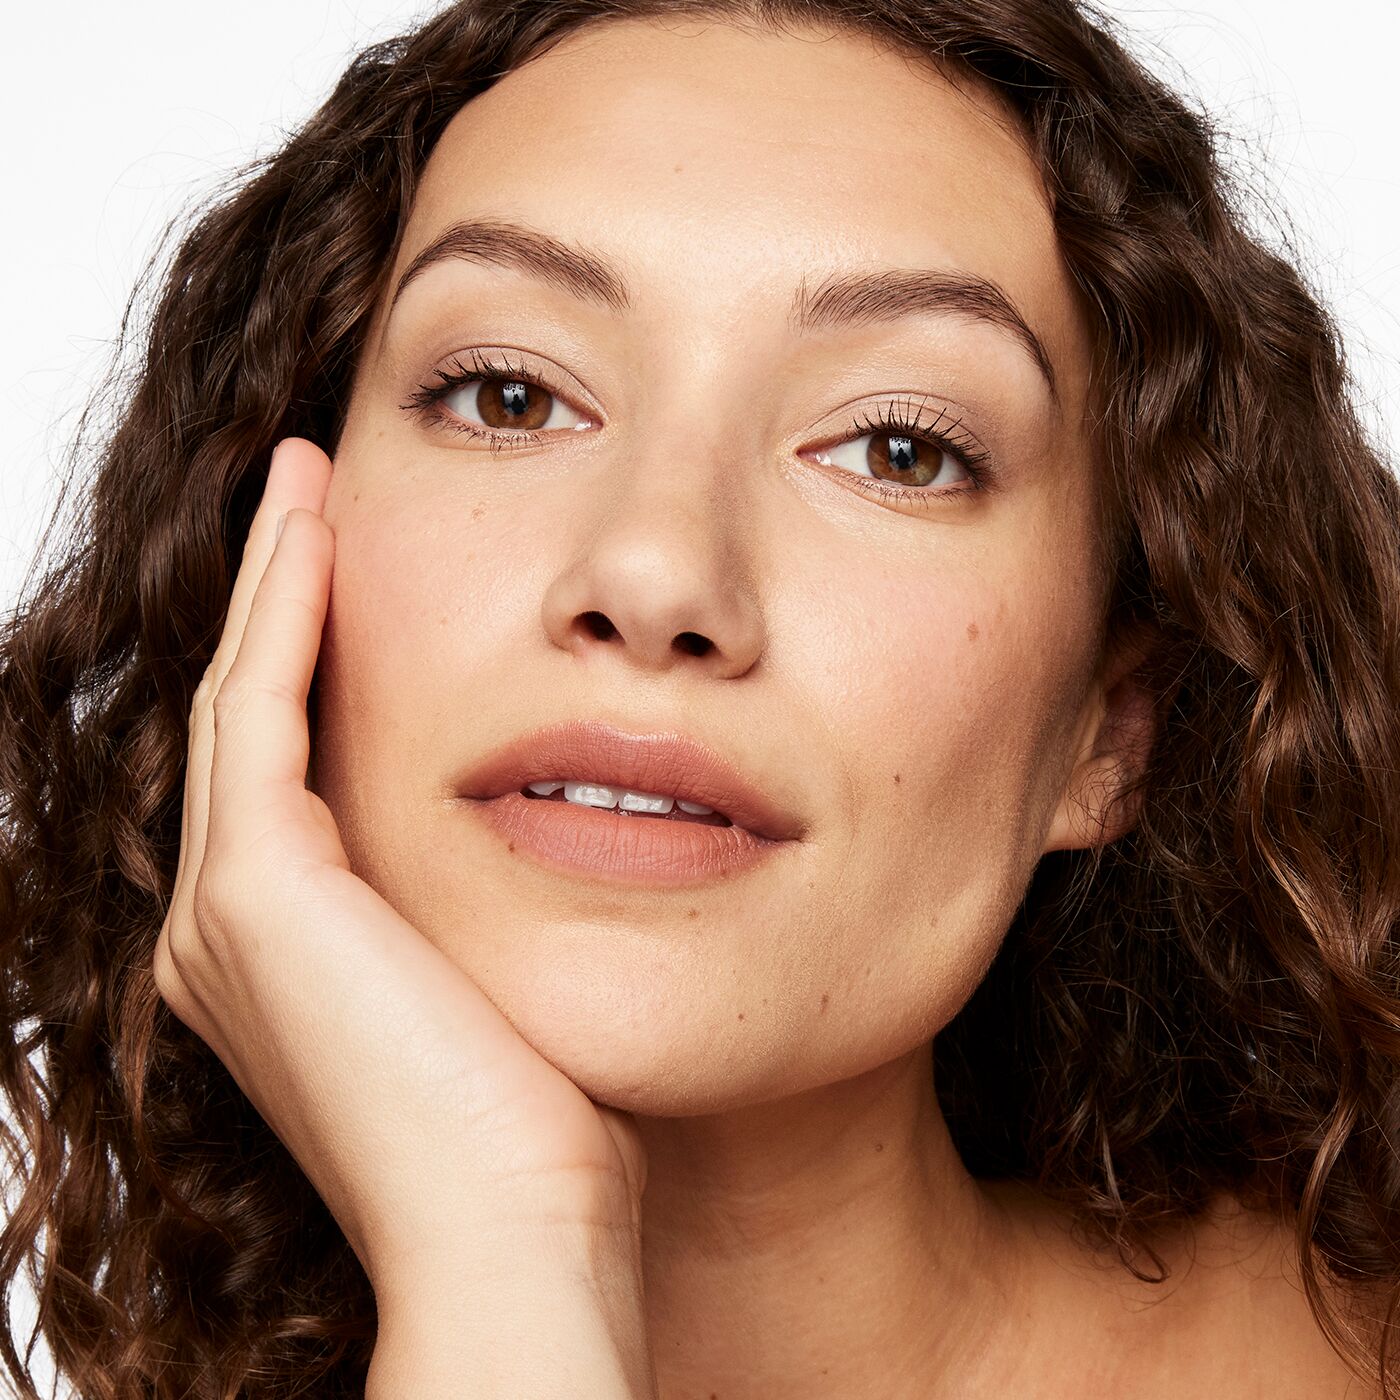
For once and for all. No stripey faces, just cheekbones for days.
Contouring quickly and easily with a natural finish is always the end goal. But how to contour and achieve this? First, choosing the right undertone (cool, warm or neutral) and using a contour shade two shades darker than your base. Second, sculpt and shape to complement your facial structure. Third, highlighting your contour either with a creamy concealer or radiance-boosting product will help define your contour.
Read on below to learn how to master…
An everyday contour with a natural glow
An after-dark contour with a dewy finish
Simple contouring do’s and don'ts
What is contouring?
Put simply, it’s using the optical illusions of light and shade to shape and sculpt your facial features: teasing out cheekbones, defining a jawline and enhancing or minimizing pretty much anywhere. It needn’t take hours and it needn’t look obvious or fake - but there are a few pro tricks to ensure you always get a flawless, natural-looking finish.
Put simply, this is how it’s done:
Choose the right undertone for your skin (cool, warm or neutral) and use a contour shade two shades darker than your natural skin color.
Sculpt and shape to complement your facial structure.
Highlight your contour either with a creamy concealer or radiance-booster.
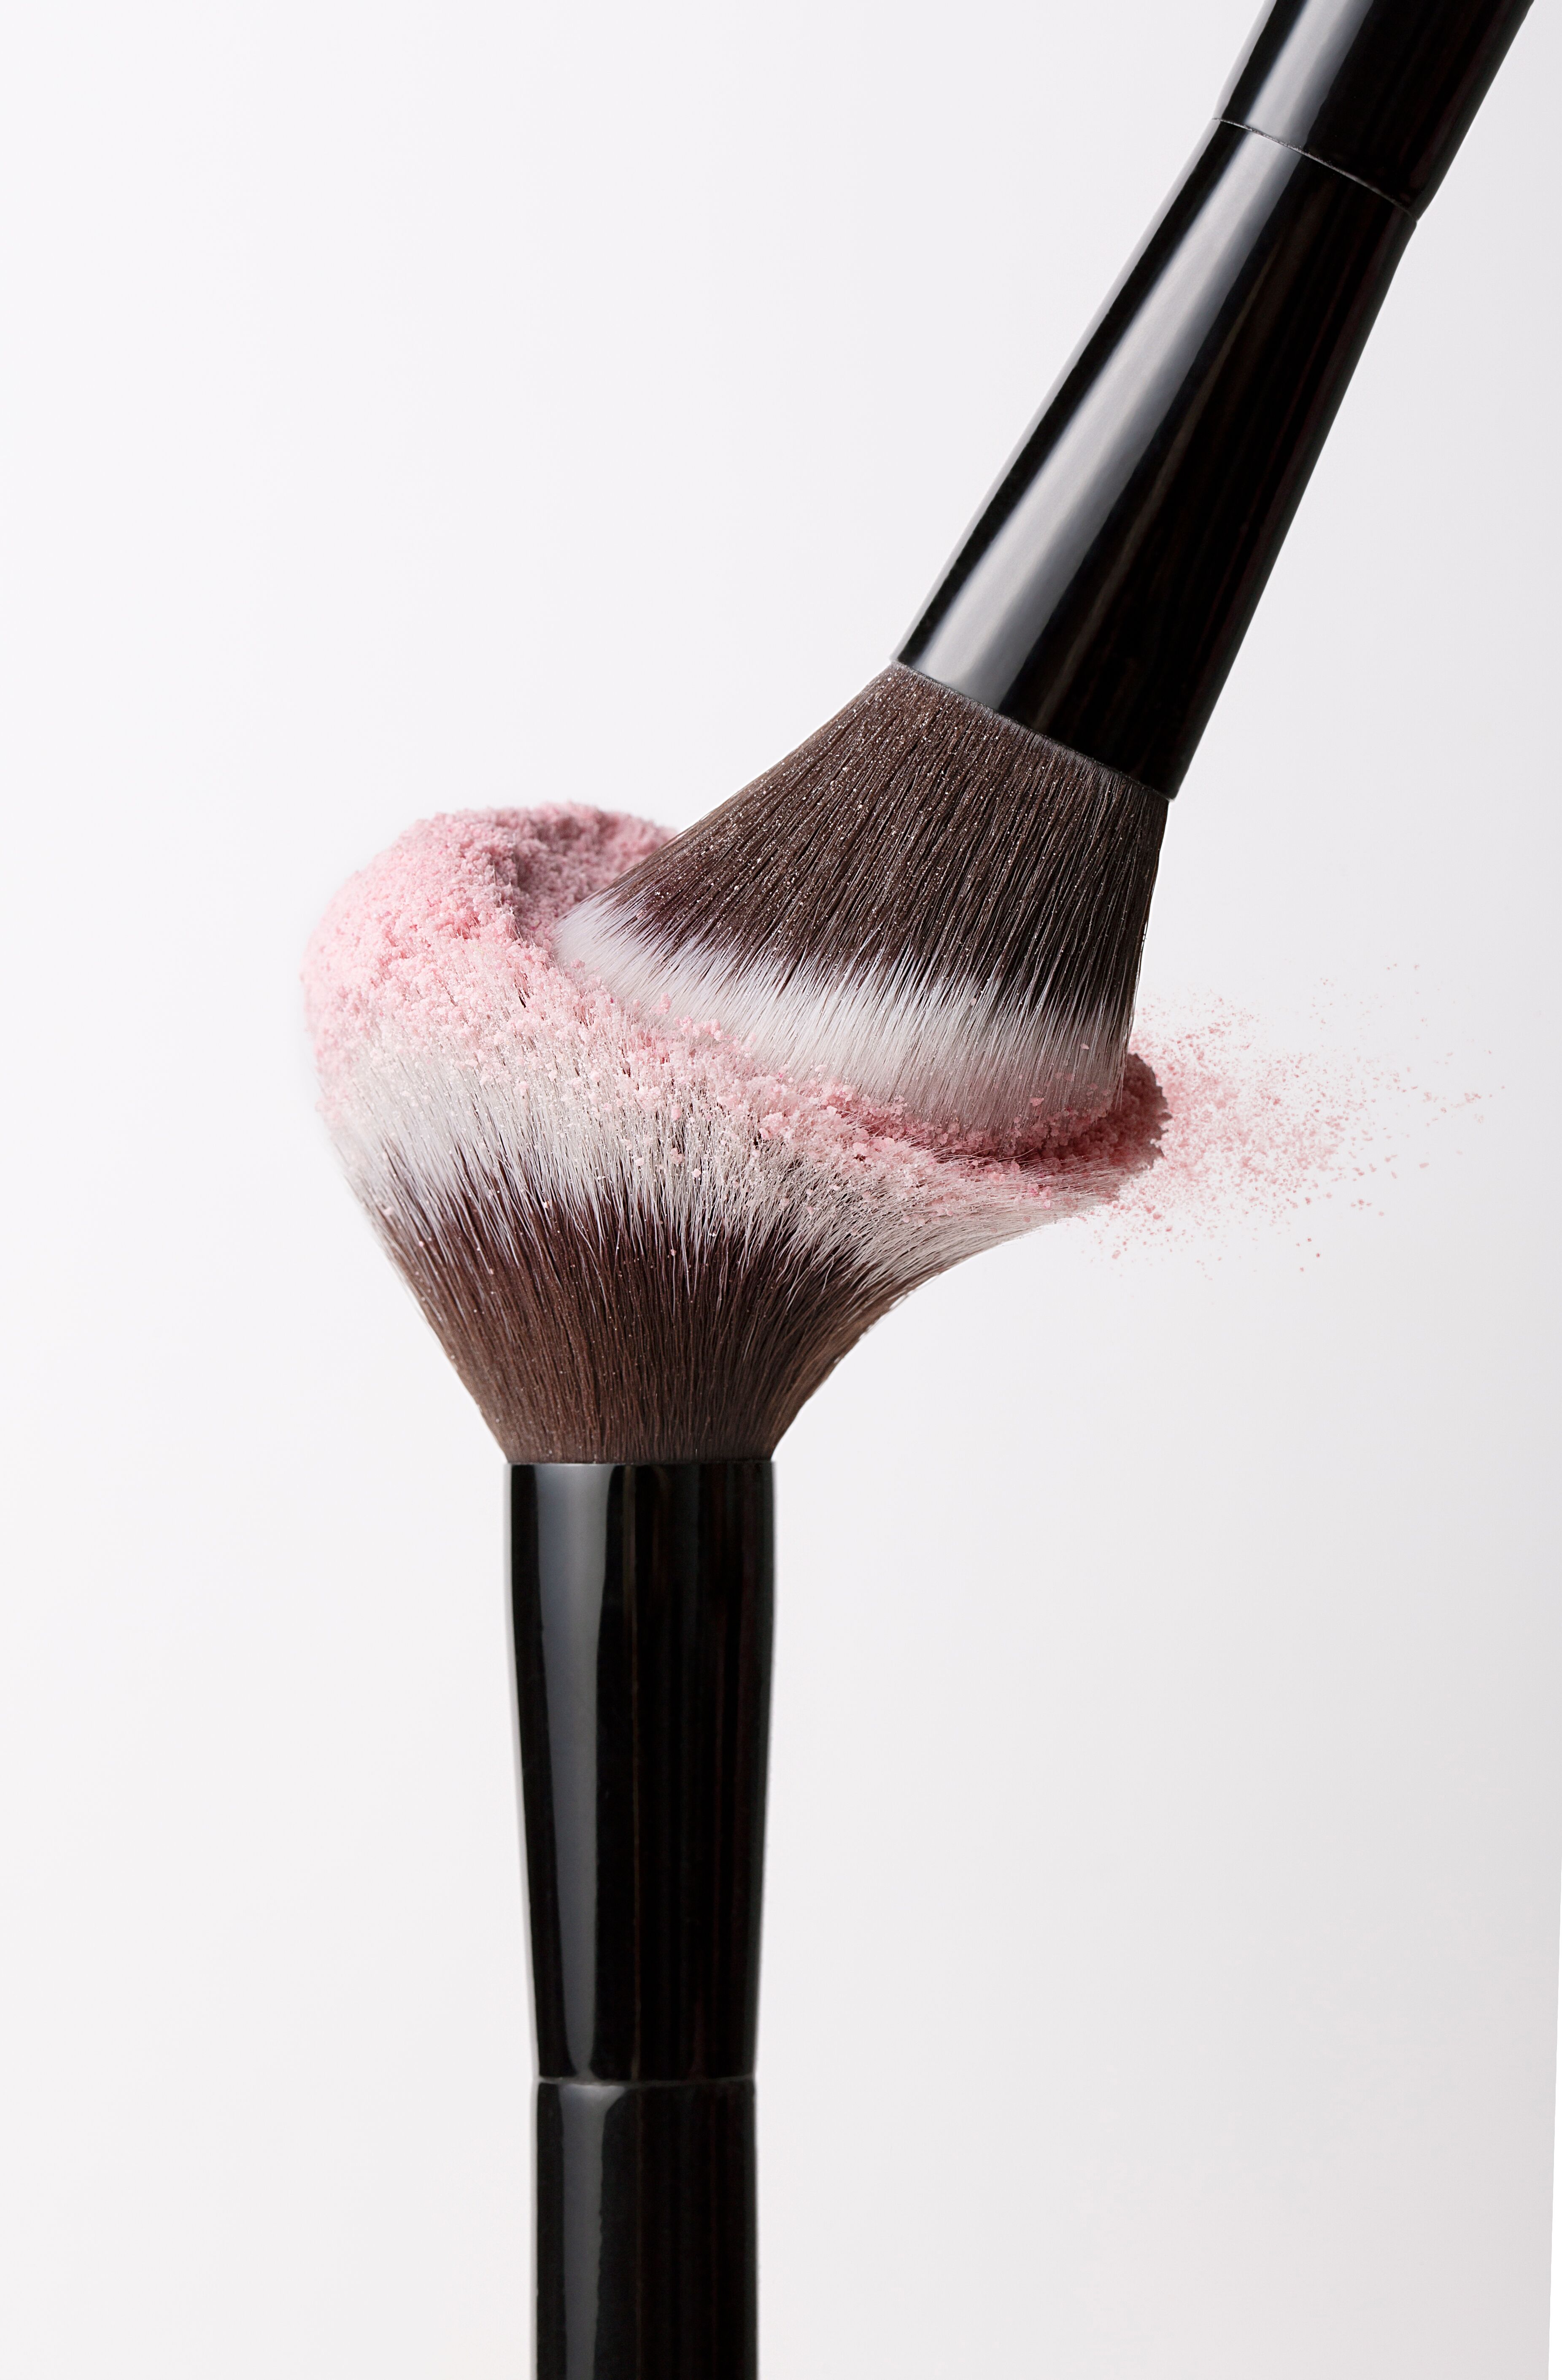 Use the right brushes to blend, buff and create a natural finish
The Dos And Don’ts of Contouring
Do…
Match your skin’s undertone with the undertones in your bronzer, highlighter and concealer
Choose powder bronzer and highlighter if you are new to contouring
Use the right brushes to blend, buff and create a natural finish
Apply sparingly and know which areas you want to sculpt, shade and highlight.
Don't...
Contour if you don’t need to – just conceal and highlight instead
Be too heavy-handed – less is more
Mix powder and cream textures together – the finish may look too overdone.
How to Contour with Powders
Lightweight, easy to apply and easy to blend, powder bronzers and highlighters not only give beautiful definition with a soft, glow-y finish, they help soak up any excess oil / shine throughout the day.
Always apply foundation, concealer and setting powder to a freshly cleansed and moisturized face first. (It’s important to add powder bronzer after a setting powder to help ensure seamless blending and buffing.)
Using an angled makeup brush, sweep over the bronzer, tap off any excess and lightly apply back and forth along the hollows of the cheeks, focusing most of the product to the back of your cheekbones.
Dust over temples and into the hairline to help make your forehead appear smaller, while giving a sun-kissed radiance to the skin.
To define your jawline, brush along the length of the jaw and around your chin, also blending downwards in swift motions to create a flawless shadow.
To create the illusion of a slimmer, smaller nose, dip your blending brush (we like our Pro Eyeshadow Blending Brush) lightly into the bronzer and apply down the sides of the nose and over the tip. (This is an old Hollywood trick!)
Using a highlighting brush, such as Beauty Pie's Soft Highlighting Powder Brush, dip into the highlighter, tap off any excess, and sweep along the tops of cheekbones to catch the light and bring them forward. Also apply to the inner corners of the eyes, over the browbones, down the bridge of the nose and across the Cupid’s bow to illuminate the complexion.
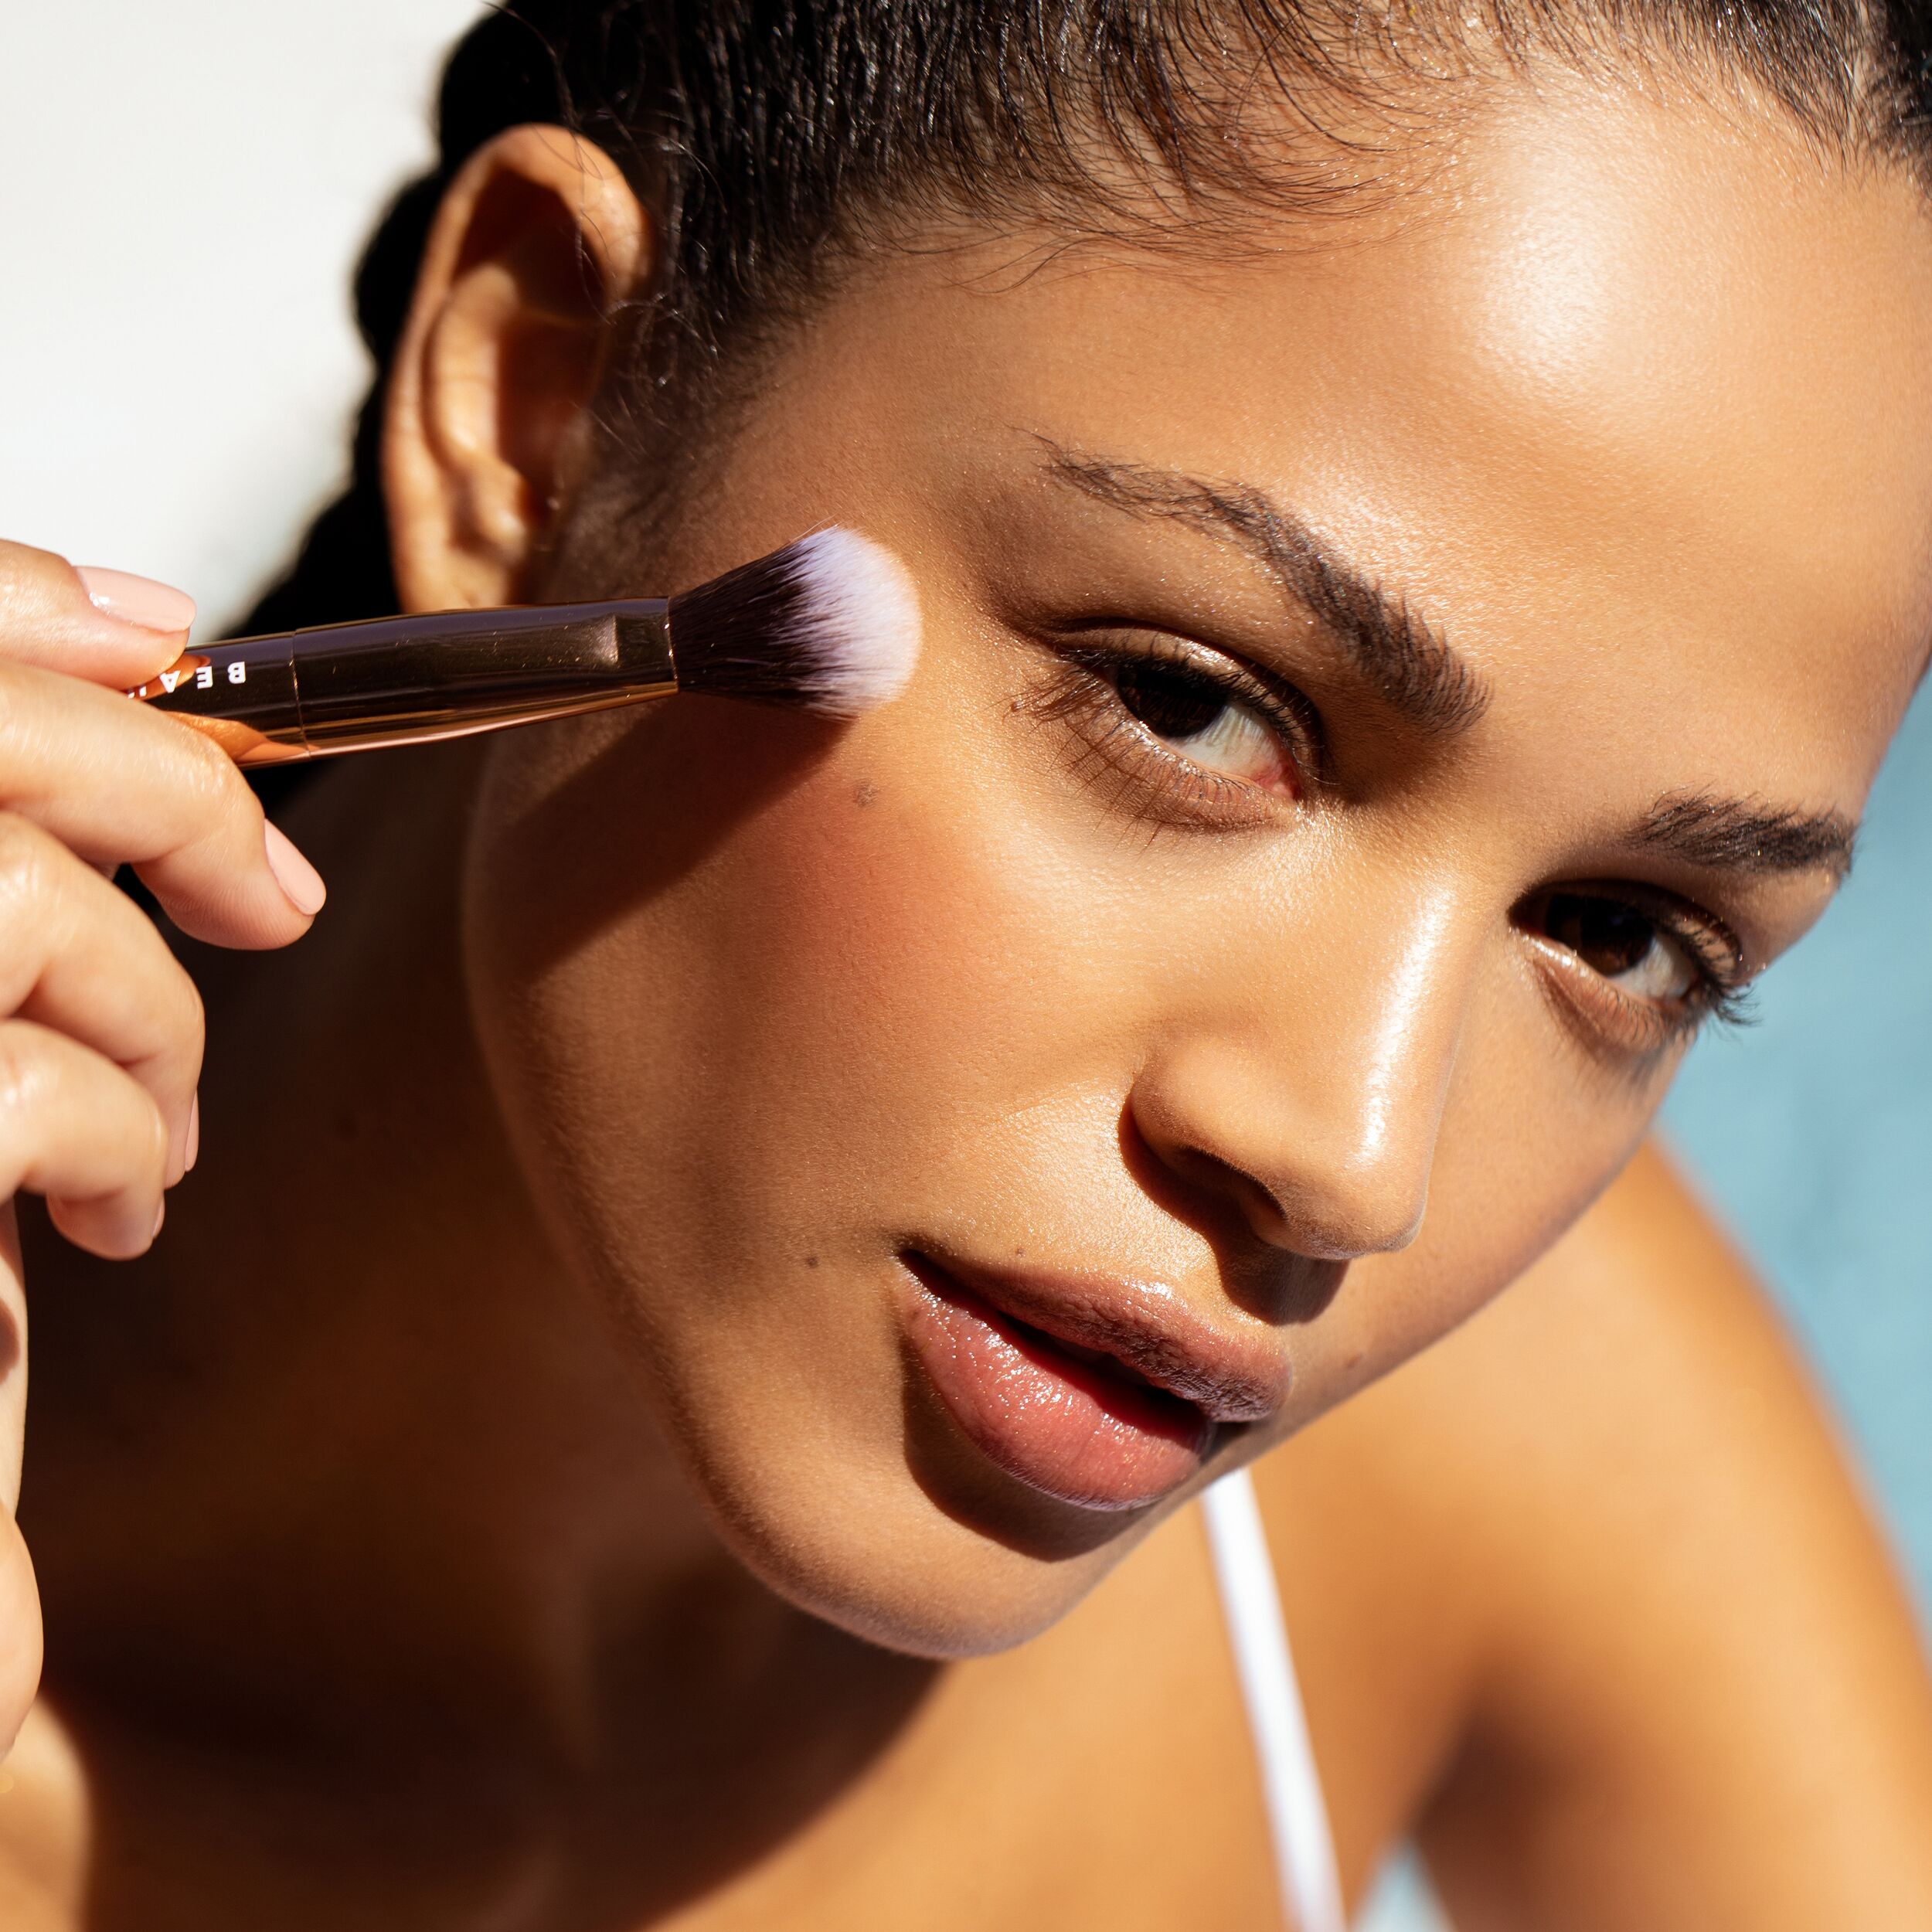 Choose powder bronzer and highlighter if you are new to contouring
How to Contour with Creams
Creams produce a dewier, longer-lasting finish. Opt for more pigmented, creamier texture contour creams when contouring, as they tend to last longer on the skin. The key thing to remember: apply lightly and blend, blend, blend.
After cleansing, moisturizing and applying foundation, choose a contour color that complements your skin’s undertone (cool, warm or neutral) and is two shades darker than your base. Then opt for a concealer that is one shade lighter to highlight.
Start with the lighter shade and apply to areas you’d like to soften, brighten and slim down. To create dimension, apply concealer under the eyes, down the bridge of the nose and to the centre of the forehead - an inch short of your hairline.
To create the illusion of defined, sculpted cheekbones, move on to the darker shade. Starting at the top of your ear, draw a line down your cheekbone, stopping in-line with your pupil to avoid an overly heavy look.
Blend everything together lightly and quickly with a seamless foundation buffing brush. Start with the lighter shade using gentle tapping motions, then move on to the darker, contouring shade to bring out your features.
Wherever the light naturally hits your face – so the tops of cheekbones, browbones, the bridge of the nose and the Cupid’s Bow – blend in your chosen highlighter with your fingertips. The warmth from your fingers will help to create a seamless, radiant finish.
